


1. Introduction
High-quality product photography has always been the backbone of ecommerce success. When shoppers can’t touch or try your product, photos become the substitute for the in-store experience. Studies repeatedly show that crisp, professional images increase trust, drive clicks, and directly boost conversion rates.
But here’s the challenge: traditional product photography is expensive, slow, and often out of reach for small or fast-moving ecommerce businesses. Booking a studio, hiring photographers, arranging props, and retouching every shot takes time and money.
This is where artificial intelligence (AI) steps in. Over the last two years, AI has transformed how brands create, edit, and scale product visuals. With the right tools, you can now generate studio-quality photos in minutes — without expensive equipment.
In this guide, we’ll walk through everything you need to know about generating product photos with AI: why it matters, which tools to use, how to write prompts, legal considerations, and how to measure the impact on your ecommerce business.
2. Why Product Photos Matter in Ecommerce
Think of product photography as your digital storefront. A pixelated or poorly lit image is the equivalent of a messy shop window — shoppers walk away.

Key reasons product photos matter:
- Conversion power: 75% of online shoppers say product photos influence their buying decision more than text descriptions.
- Trust and professionalism: High-quality images signal credibility. Blurry, inconsistent, or stock-like visuals make buyers hesitate.
- Competitive edge: In saturated niches, visuals help differentiate your product from dozens of lookalikes.
- Brand identity: Cohesive imagery across your catalog reinforces your brand’s voice — whether minimal, luxury, or lifestyle-driven.
Traditional DIY or budget photos often fail at scale. Stock photos, meanwhile, feel generic and reduce brand authenticity. AI-generated product photos bridge the gap by delivering affordable, high-quality, and customizable images on demand.
Example: A Shopify store selling handmade candles used AI to create lifestyle photos (candles on a holiday dinner table). The result: a 22% increase in add-to-cart rates compared to their old plain white-background images.
3. Understanding AI-Generated Product Photography
AI-generated product photography isn’t about replacing real products with imaginary ones. Instead, it’s about enhancing or recreating product visuals digitally.
Three main approaches dominate today:
- Generative AI image creation
- Tools like MidJourney, DALL·E 3, or Adobe Firefly can generate entire scenes based on text prompts.
- Example: “A premium leather wallet on a marble countertop with soft morning light.”
- AI background replacement & lifestyle generation
- Tools such as PhotoRoom or Pebblely allow you to upload your real product photo and replace the background with studio shots, outdoor settings, or seasonal decor.
- 3D modeling + AI rendering
- Advanced tools like VMake or Claid combine AI with 3D product models to generate highly realistic, angle-consistent photos.
- Particularly useful for large catalogs or variations (e.g., 50 colors of the same shoe).
Advantages over traditional photography:
- Speed: Generate dozens of variations in minutes.
- Cost-effective: No need for studio rentals, props, or expensive shoots.
- Scalability: Easily adapt one product into multiple settings (summer/beach theme, holiday decor, minimal studio).
- Creative flexibility: Test out visual concepts that would be costly or impractical in real life.
4. Choosing the Right AI Tools
Not all AI tools are created equal. Some are general image generators, while others are designed specifically for ecommerce.
Key selection criteria:
- Ease of use (drag-and-drop vs coding prompts).
- Realism and image quality.
- Control over customization (backgrounds, lighting, props).
- Output formats compatible with Shopify, Amazon, Etsy, etc.
- Pricing and commercial licensing.
Popular AI Options
- AI Art Generators
- Examples: MidJourney, DALL·E 3, Stable Diffusion, Adobe Firefly.
- Best for: Creative lifestyle shots, campaign visuals.
- Pros: Highly customizable, artistic flexibility.
- Cons: Steeper learning curve, less predictable outputs.
- Ecommerce-Focused AI Tools
- Examples: PhotoRoom, Pebblely, Claid, VMake.
- Best for: Catalog consistency, Amazon/Shopify-ready product shots.
- Pros: Optimized templates, faster results, easy editing.
- Cons: Less creative freedom compared to art-focused generators.
- AI Editing Platforms
- Examples: Canva AI, Remove.bg, Fotor.
- Best for: Background cleanup, retouching, resizing.
- Pros: Simple interface, affordable.
- Cons: Not full generative capability, more limited.
Comparison Table:
| Tool Type | Examples | Best Use Case | Strengths | Weaknesses |
|---|---|---|---|---|
| Generative AI | MidJourney, DALL·E | Creative campaigns | Flexibility, realism | Learning curve |
| Ecommerce AI | PhotoRoom, Pebblely | Amazon/Shopify listings | Fast, consistent | Less artistic control |
| Editing AI | Canva AI, Remove.bg | Cleanup & resize | Easy, cheap | Limited generation |
5. Step-by-Step Guide: Generating AI Product Photos
Here’s a practical workflow to create your first AI product images.

Step 1: Prepare Your Input
- Start with a clear base product photo (plain background, multiple angles).
- Tips:
- Use natural lighting.
- Shoot against a neutral background.
- Capture at least 3 angles (front, side, lifestyle).
Step 2: Write Effective AI Prompts
A good prompt is the difference between a stock-like image and a polished lifestyle shot.
Prompt Formula:[Product] + [Environment/Background] + [Lighting] + [Mood/Style]
Examples:
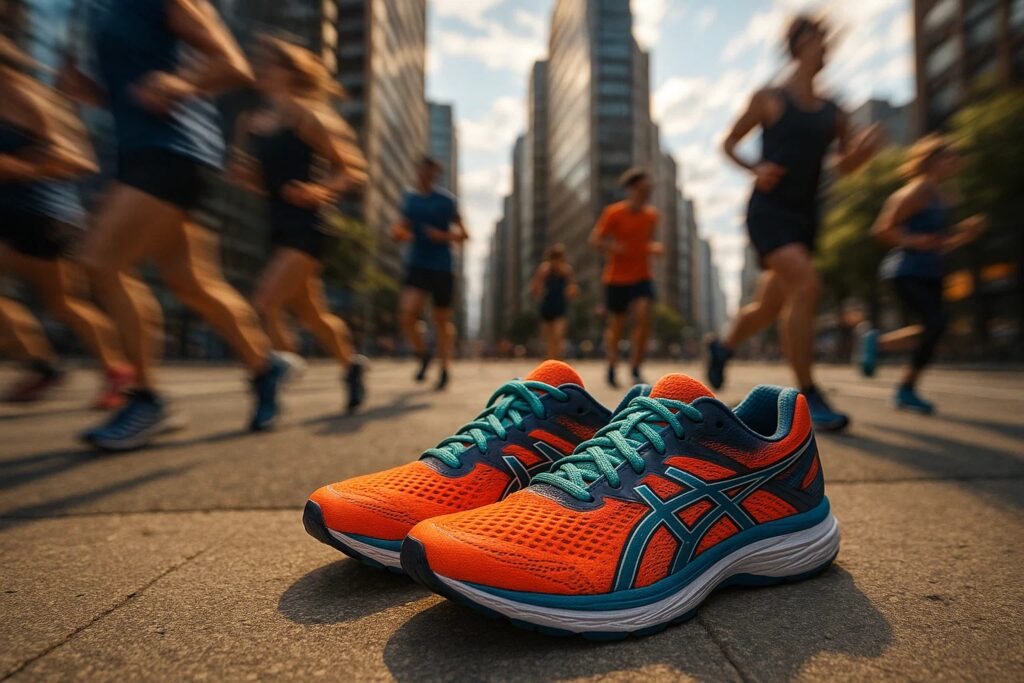
- “A stainless steel water bottle on a gym bench, dynamic lighting, energetic fitness vibe.”
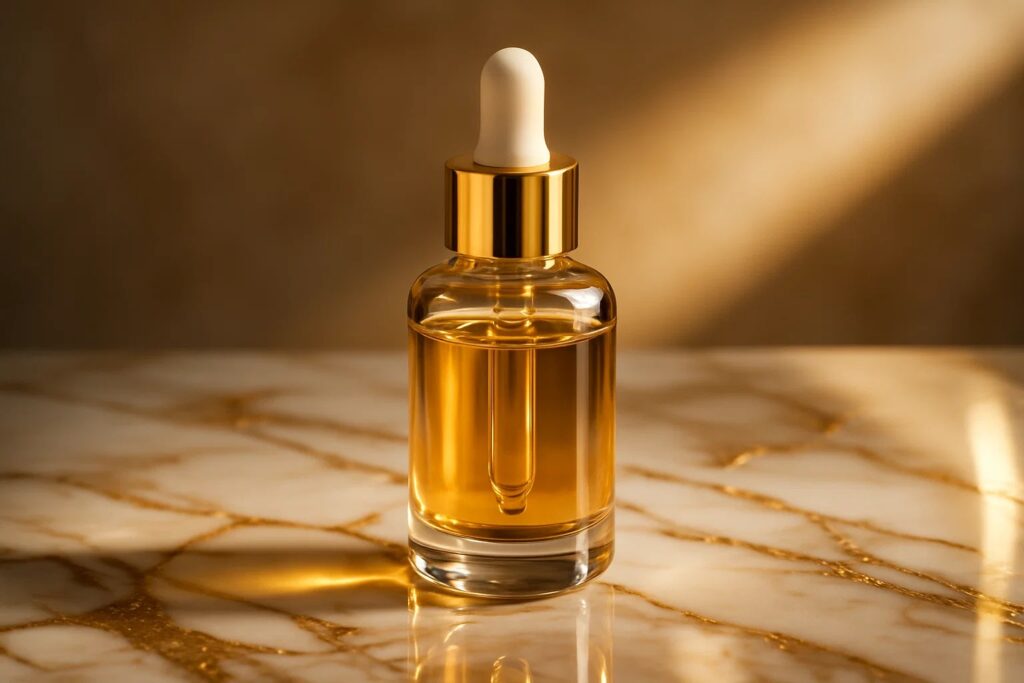
- “A minimalist skincare bottle on a marble vanity, soft daylight, luxury aesthetic.”
Step 3: Select Backgrounds & Styles
- Studio look: Clean, plain, professional (ideal for Amazon).
- Lifestyle look: Realistic environments (home, outdoors, seasonal).
- Seasonal look: Holiday, summer, Valentine’s themes for campaigns.
Step 4: Refine & Edit Outputs
- Generate multiple variations, then pick the most realistic.
- Use editing tools (Photoshop AI, inpainting, color correction) to fine-tune.
Step 5: Export & Format for Ecommerce
- Save in JPEG/PNG at 2000px minimum width.
- Compress for web to avoid slow page loads.
- Maintain consistent aspect ratios (Amazon prefers 1:1).
Cheat Sheet: Prompt Templates
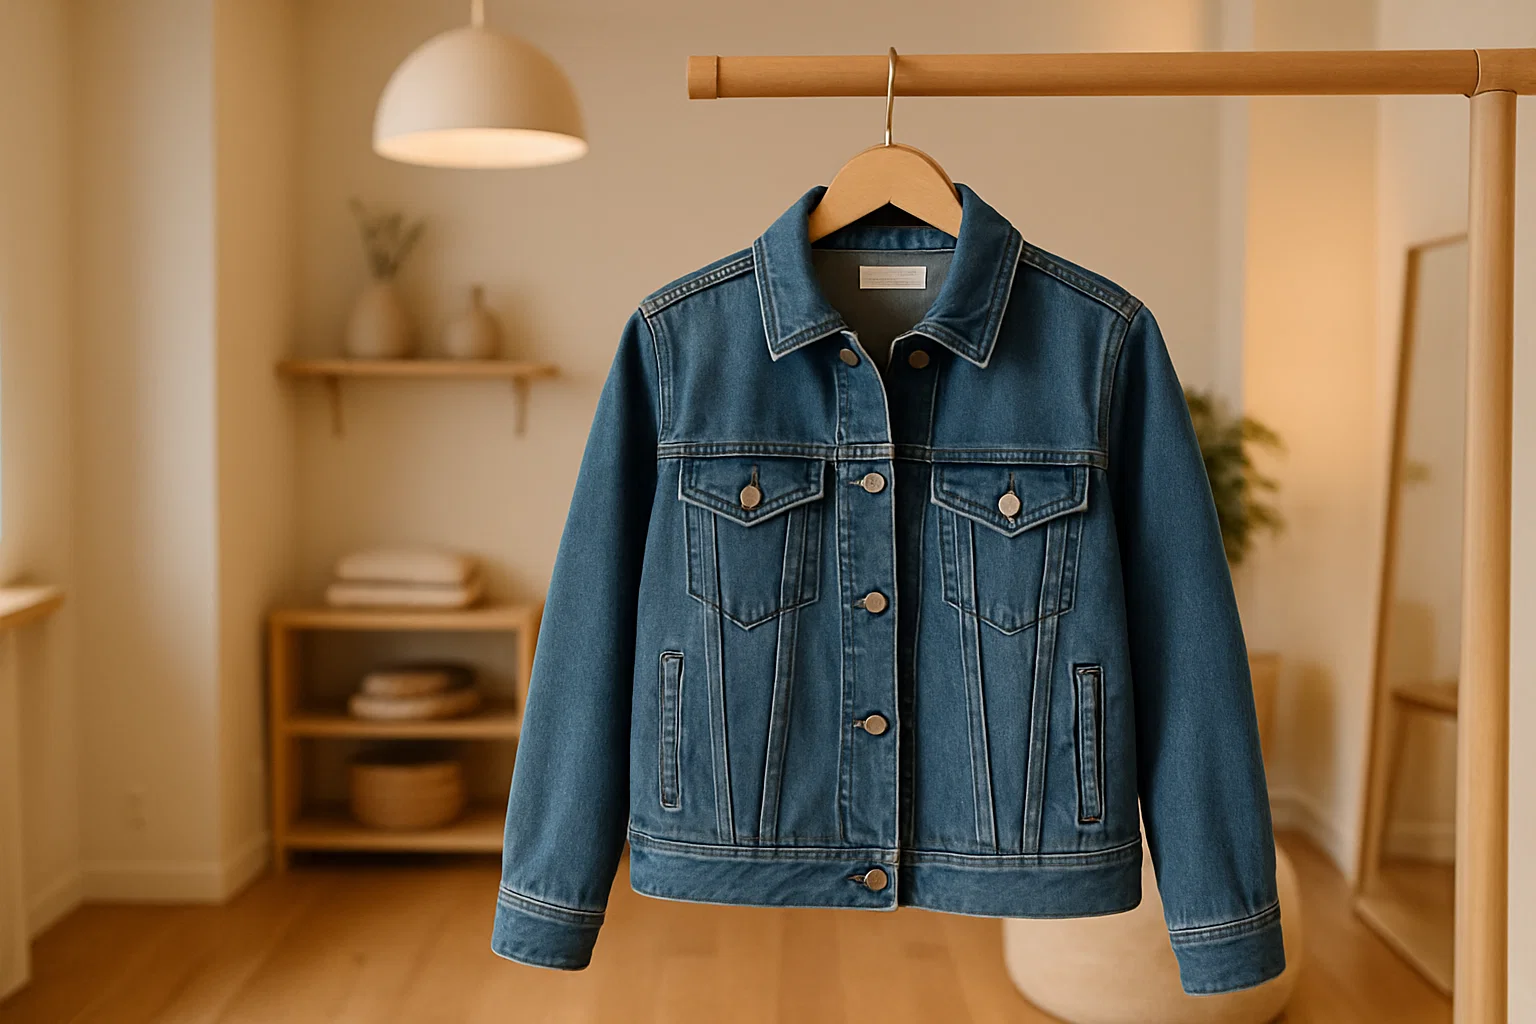
- Fashion: “A denim jacket on a wooden hanger, soft indoor light, rustic background.”
- Tech: “Wireless earbuds on a desk with a laptop, clean minimal setup, bright daylight.”
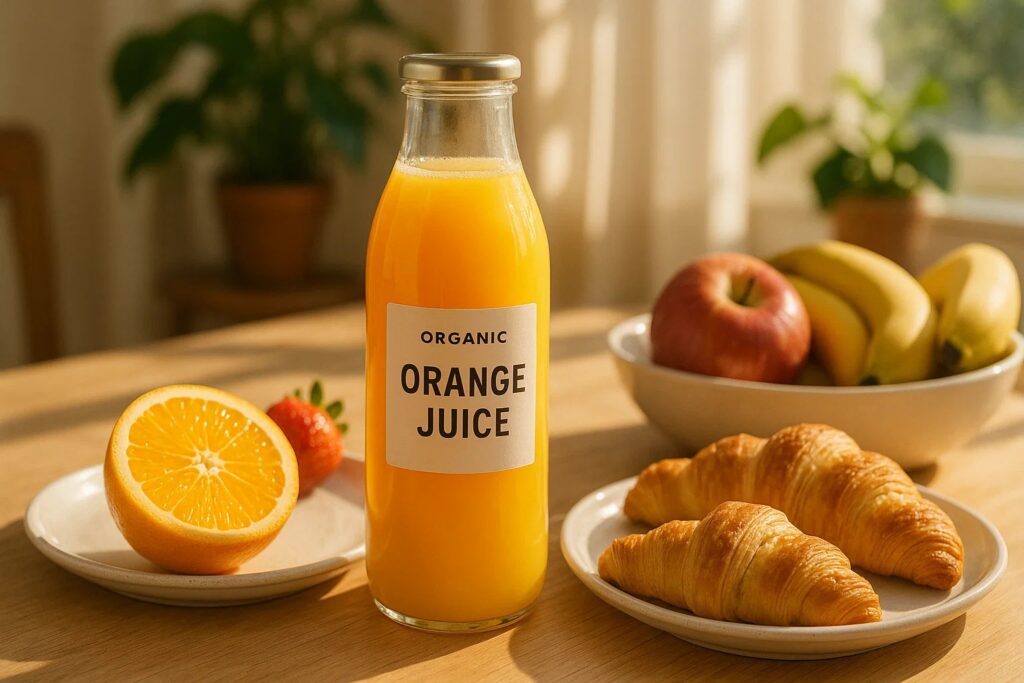
- Food: “A jar of honey on a breakfast table with toast and tea, warm morning light.”
6. Advanced Strategies
- Brand consistency: Define one style (e.g., pastel minimalism) and apply it across the catalog.
- Batch generation: Automate AI runs for multiple SKUs to save time.
- Hybrid workflow: Combine real photos for authenticity with AI-generated lifestyle backgrounds.
- Seasonal campaigns: Quickly generate holiday-themed visuals without reshoots.
- Future trends: AI + AR → customers view your product in their own space.
7. Common Mistakes & How to Avoid Them
- Unrealistic renders → Avoid impossible shadows, textures that don’t match reality.
- Inconsistency → Keep angles, lighting, and background style uniform across products.
- Over-editing → Don’t make the product look better than it actually is → trust risk.
- Ignoring optimization → Uploading 5MB images slows sites. Compress first.
- Legal risks → Double-check tool licensing before using images commercially.
Quick Checklist:
✅ Keep it realistic
✅ Match brand guidelines
✅ Optimize for web
✅ Use licensed tools
8. Legal & Ethical Considerations
- Ownership: Some AI tools grant you full rights; others retain partial ownership. Always check T&Cs.
- Commercial Use: Free versions of some tools don’t allow ecommerce use.
- Disclosure: Consider being transparent with customers if images are heavily AI-assisted.
- Accuracy: Avoid misleading images (e.g., showing accessories not included).
9. Measuring Success
Once you roll out AI-generated product photos, track performance.
Metrics to monitor:
- Conversion rates (before vs after).
- Bounce rates on product pages.
- Add-to-cart percentages.
- Customer feedback (“Looks like the pictures”).
How to measure:
- Use A/B testing: Show 50% of visitors traditional photos, 50% AI-enhanced.
- Track results with Google Analytics or Shopify’s built-in analytics.
Example: An online jewelry store tested AI-generated lifestyle shots vs plain catalog images. The AI photos increased engagement time by 31% and boosted conversion by 14%.
10. Conclusion
AI is rewriting the rules of product photography. What once required costly studios and long lead times can now be done in minutes, at scale, and with incredible creative flexibility.
For ecommerce businesses, the benefits are clear:
- Faster product launches
- Cost savings
- Improved conversion rates
- Consistent brand visuals
The best approach? Start small. Test AI-generated photos for one or two products. Monitor the impact on sales and engagement. Then expand across your entire catalog once you see results.
With the right tools and workflows, AI product photography can transform your ecommerce brand from ordinary to extraordinary.